Let’s Sew 24 – How to Make a Simple Pencil Pouch
Today we are going to use that piece of fabric left over from the Library Tote to make a matching Pencil Pouch.
What you need:
The fabric piece
A 8″ or 20 cm zip to match
Let’s Sew!
From the fabric cut a rectangle 10″ x 11″ – this can vary ( my 3 half metre pieces have all been different sizes after straightening!!) but I found this to be a good size. The 11″ is the length and the 10″ folded in half is the depth.
From the scraps cut 4 pieces 3″ x 2″
Take the zip and trim the ends back to the metal.
Take 2 of the small pieces and lay them either side of the zip, right sides facing and all edges matching.
Sew down the sides of the zip, across the zip (the metal is outside in the seam allowance) and down the other side. Trim one side of the seam to remove some bulk. Trim corners.
Pull the fabric back over and press.
Open the zip and repeat the process on the open end. It is a good idea to pin the ends to keep them together.
Pull the fabric back over and press.
Take the large fabric and place the zip, upside down on top of the fabric. Using your zip foot, starting at the edge, stitch down the side of the zip.
Repeat on the other side. If you need to pull the zip tab back, leave the needle down and raise the Pressure Foot.
Trim the seam allowance back.
I am now using my 1/4″ foot and, with the zip open, I am sewing through one of the open ends.
Sew down the side of the zip the 1/4″ from the edge. Repeat on the other side of the zip.
This is the wrong side – no raw edges
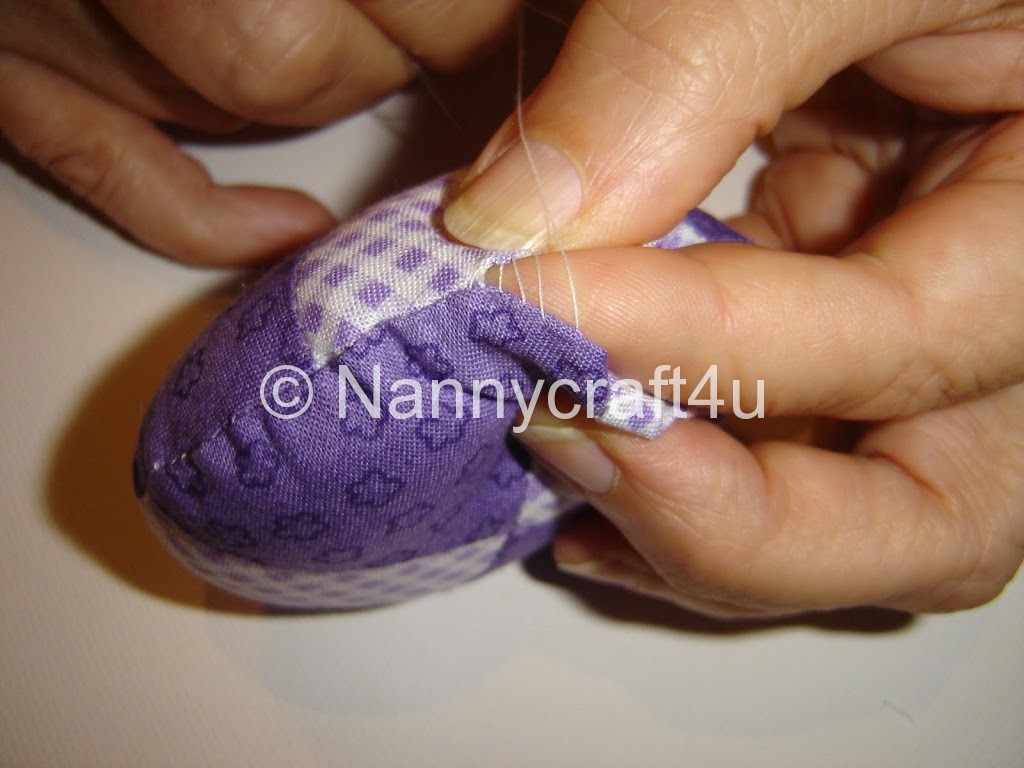
Open the zip and with wrong sides together, sew down the side seams. Trim and turn to the inside, roll, press and stitch (French Seam)Let’s See how many we can make! Let’s See lot’s of smiles on those little faces!!
Until next time
Nanny xx
Let’s Sew 23 – How to make a simple Library Tote
Today we are going to make a simple Library Tote. This has been designed to assist in the Gayndah Appeal where it is hoped to equip the children of Gayndah with their school needs following the terrible floods in QLD.
What you need:
1/2 metre of drill, heavy weight calico or other similar weight fabric
Let’s Sew!
Take a selvedge and fold your fabric across 15″ so the selvedges are parallel. Smooth it out with your hand.
Straighten the edges
Cut a 15″ square (leaving it folded) – this is the bag
With the strip that you cut off – cut a strip 4″ wide (still folded) – this is the strap
Take the remaining piece and fold it so the pattern in my case, the elephants, run the length of the piece and cut a rectangle 13″ x 5″ (see at bottom of next photo) – this is the flap
You now have this:
A rectangle 15″ x 30″ folded to a square 15″ x 15″ – the bag
A rectangle 4″ x 30″ folded to a rectangle 4″ x 15″ – the strap
A rectangle 10″ x 13″ folded to a rectangle 5″ x 13″ – the flap
Here you see the side seam on the right and it rolls up to the left ready to sew along the bottom seam.
Now fold the top of the bag over a 1/4″ and press and then another 3/4″ and press – stitch close to the edge (I used my stitch in the ditch foot)
Take the strap piece and with right sides together, sew across one short end and down the length of the strip and across the other short end leaving a space for turning. TIP: I like to sew out from each corner and leave the opening in the middle – that way you get nice corners! Clip the corners and turn it through – it is easy to turn with anything like a pencil or I used a crochet hook because it is so wide!Sew close to the edge all the way around – this will secure the opening. Then sew lines down the length of the strap – I halved and halved – doesn’t need to be exact!
The Flap
Take the flap piece and with wrong sides together do the same thing – sew, clip corners, turn, roll, press and stitch close to the edge.
Make sure you have the flap facing the right way if you have a picture (see elephants)
Find the centre of the flap and the centre of the bag back and pin so it just covers the line of stitching along the back of the bag. Sew close to the edge along the bag, turn and sew up to the top of the bag, turn and sew along the top of the bag ( I ran my fingernail along the edge to give me a line) and then back down the other side to finish.
This is the inside
and the outside
Take the strap and place it, centred over the side seam and side crease, ( make sure it isn’t twisted) and down about 2 x the width of the hem at the top of the bag. Sew around the edge till you do the square then the diagonal, back across the bottom and back up the other diagonal.
Press the flap to the front and there you have it – one quirky little library tote! Well done!
Let’s See how many we can make for the appeal!! I know the children will appreciate our efforts!
Until next time
Nanny xx
Let’s Sew 22 – Valentines Message Cushion
What you need:
Choose the colour for your cushion and find some other fabric pieces to match in.
A 16.5″ square of plain light weight cotton for backing – can be a light calico, poplin etc
Heart Pattern download here.
Lace, ribbon, embroidery threads, ricrac, etc
Let’s Sew!
Join the pattern pages and trace off the sections.
Take the sections of the heart and select your fabric for each one. Make sure you have a plain fabric if you are going to write a message on the cushion itself.
NOTE: If you are going to make the pocket, you need to fold the fabric so that there is a fold on the Number 4 edge and another at the bottom.
There is a fold under my thumb so it is like a back to front S

Place the pocket pattern so that the number 4 edge is above the top fold
Cut each section out allowing a 1/4″ seam and 1/2″ allowance around any of the heart line (the cushion shape) like on section 8 for example
Starting with the centre piece, place it near the centre of the backing fabric – don’t be exact as this method is supposed to look ‘crazy’!
Take number 1 and place it over the Centre till you have the sides even. Stitch. Flip open and press.
Trim away any excess as you go. Take number 2 and place it right way up , in place to check you have it facing in the right direction, then flip it to sew.Flip open and press
It was at this stage that I had planned to use some ric-rac so I am going to sew it on now. (That way, the ends will be enclosed) – You can sew ric-rac on by sewing down through the centre of the ric rac. Some prefer to sew it on with a zigzag.
Continue adding the next piece and trimming with lace and ric rac if that is what you have planned.
Now comes the fun part!! You can finish embellishing the heart with whatever you like. I am going to do some embroidery stitches and use an iron on applique. You can use any of the decorative stitches on your machine for a quick solution.
I collected a few sequins, beads,bits of lace and my embroidery threads and went to work!
I had to make myself stop! It really is fun and relaxing.
Now for the heart insert. You may prefer to place a paper note in the pocket – the choice is yours!
Cut 2 small hearts from the pattern adding a 1/4″ for seam.
I now used my erasable pen to write my message and using 2 strands of embroidery thread, I backstitched around the name.
With right sides together, sew around the heart, leaving a gap to turn through on the straight edge at the side.
Clip curves – use pinking shears if you have them.

Turn through, roll seams between fingers and thumbs and press.
Stuff well and close with Ladder Stitch.
Pop your ‘message’ in the pocket and have a lovely Valentines Day!
Until next time
Nanny xx
Let’s Sew 21 – ‘LILY’ Dolly
Today we are going to make a dolly to support the TSL DollyDrive for 2013.
I have designed a simple doll that beginners will be able to complete. I have called her Lily!
Erasable Pen for marking face details (I used a PILOT Frixon Ball – available at supermarkets in Australia)
Stuffing

2. Take the pattern and trace it and the markings onto the back of the fabric (I used a pencil). Add 1/4″ for seams and cut out the doll shapes, back and front.

Nanny Tip: An easy way to transfer the dots from the wrong side to the right side is to put a pin through the dot. Turn the fabric over and mark where the pin comes through.
3. Using an erasable pen, trace the face details onto the front of the doll matching your centre points.
4. You can complete the face details by embroidering with 2 strands of embroidery floss or by using fabric pens. Details for embroidery stitches here and here.
To start the embroidery, take 2 strands, tie a knot and start with your knot at least 4″ away from the start (a waste knot – thanks Jenny).

- eye outline – backstitch
- eyelashes – single stitch
- eye – blanketstitch
- nose – backstitch
- mouth – backstitch
5. Take the hair pattern and cut a front and a back from the felt adding a ¼” seam allowance to the outside of the head.

6. Put hair piece onto doll head and, using the same colour thread, stitch in place around the face, close to the edge. On the back, stitch along the neck line close to the edge.


12. Repeat for the other two pieces.
13. Trim the side stitching off and then snip up in the middle of the rows, stopping about an inch from the end.

14. You can now plait the hair and stitch across the end to secure (about an inch from the bottom)
15. Pin the plaits on each side of the head, with the plait across the face to match the edges. Stitch the plait to the doll.

16. Stitch on the line, around the top of the head for about 3″ on both the front and back ( this is where the opening will be so it will help to have the felt and fabric stitched together)
17. With right sides facing, make sure the plaits are tucked in across the face and match up the dress neckline and hemline. Stitch around the edge of the doll ¼” from the edge. Don’t forget to leave a 3” space for turning at the top of the head. Repeat with a second row.
18. Clip curves (I used pinking shears) and turn doll to right side.
22. Close the opening with ladder stitch by hand.
Well done! That wasn’t so bad was it – maybe now you can go ahead and make some more! It is for a great cause so Let’s See how many Let’s Sew can make for the Dolly Drive !!
Nanny xx
- « Previous Page
- 1
- …
- 11
- 12
- 13
- 14
- 15
- …
- 18
- Next Page »